Drills for skills: Getting open44 drills
Use the filters below to explore the different levels of Getting open drills.
Players

Skills
Themes
Reset
Up to:
Free Drills:
Sorry, there are no free drills that match your filters

4+
Start learning to force your cutter to go where you want, rather than the other way around

Premium Drills - upgrade or start a trial month to view all these!
Sorry, there are no premium drills that match your filters

4+
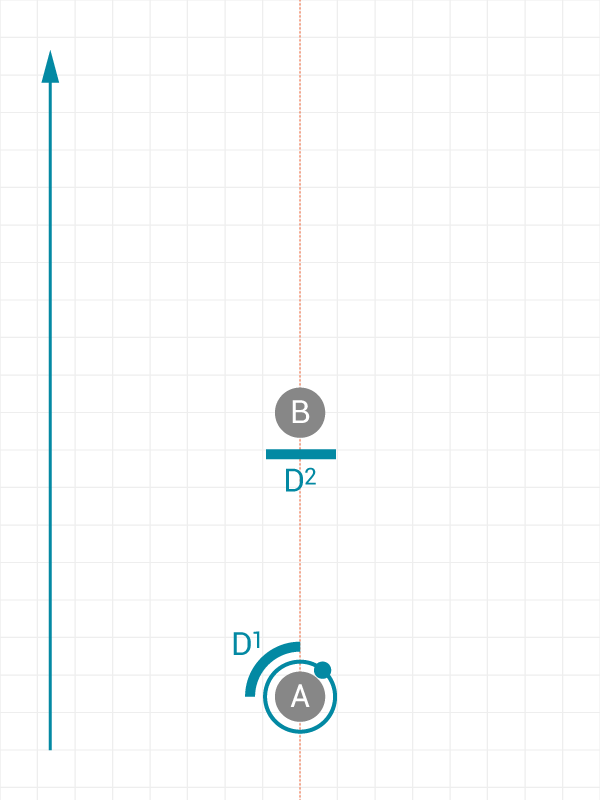
Allows the cutter to either cut deep or under on the break side, and teaches the thrower to react quickly to opportunities
4+
Allows the cutter to either cut deep or under on the open side, and teaches the thrower to react quickly to opportunities
4+
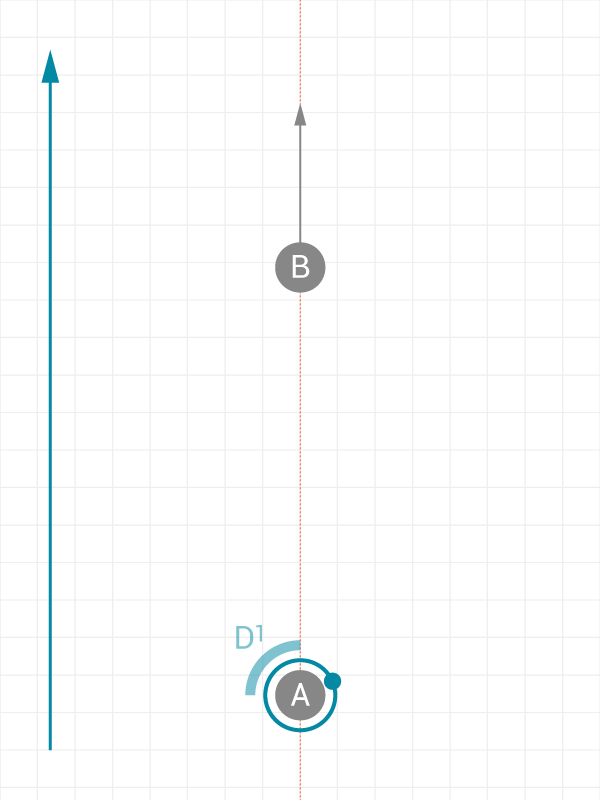
This drill provides a second cutting option if {B} is not able to get open on their first cut.

4+
This drill provides a second cutting option if {B} is not able to get open on their first cut.
14+
Side stack gives a huge amount of field space for an offence to work in. Many teams will counter this by using multiple defenders to clog up the cutting lanes, so this drill teaches how to play against this defence.

4+

This is a useful cutting pattern for handlers when cutting or clearing, particularly when blocked by a well-positioned defender.

3+
This pattern is a staple in ultimate, and worth practicing. Often referred to as a ‘V’ cut due to the sharp change of direction.

3+
When a cutter doesn't get the disc on the break side, turning laterally provides an excellent reset option
3+
This drill provides a second cutting option if {B} is not able to get open on their first cut.

3+
This drill provides a second cutting option if B is not able to get open on their first cut.

4+
Buffering allows defenders to stick to their defensive priorities while the cutters explore different attacking options.
2+
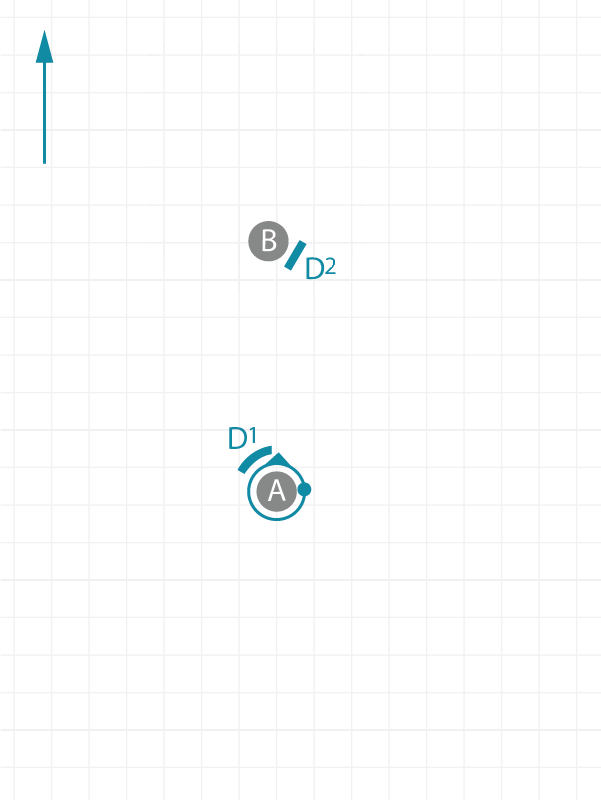
When a team forces their opponents to throw to one side of the pitch, it gives other defenders a chance to stand on that side of their player in position to get an interception. This drill gives a chance to practice staying on that side, even as the attacker moves.

2+
Since attackers are able to move in all directions, it is important that defenders can move in all directions as well.


4+
This give and go variant takes advantage of the marker's position to isolate someone immediately after throwing the disc backwards.

4+
Learn how to defeat poaching defenders effectively with this drill

5+
Defenders might attempt to change the position of the mark to prevent give and go moves; this drill helps you to deal with that by using your pivot to avoid the mark entirely

2+
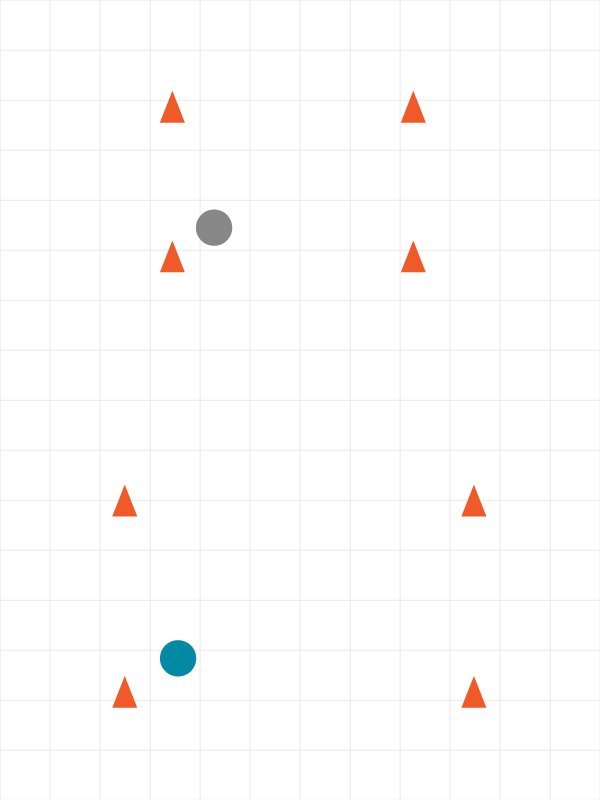
While the attacker tries to cover a large area, the defender aims to mirror their movements but in a smaller space.
3+
This pattern is a staple in ultimate, and worth practicing. Often referred to as a ‘V’ cut due to the sharp change of direction.

3+
This pattern is a staple in ultimate, and worth practicing. It's a great method for clearing space as well as being a viable threat, and can lead to easy continuation on the break side

3+
This drill provides a second cutting option if {B} is not able to get open on their first cut.

3+
This drill provides a second cutting option if {B} is not able to get open on their first cut.

6+
This mini-game helps to teach coordination of cutting option when running peppermills

10+
An exercise in keeping possession and moving the disc away from defenders. Two large teams keep their running score in a race to complete 100 passes.

5+
One way to make your give and go moves more effective is to prevent your defender from being able to access the space by "sealing the lane"

4+
This drill will teach you to generate two useful scenarios from a sideline trap: power position or continuation to the break side

3+
Also known as a 7 cut, this handler move attacks upline then provides a second cutting option if they can't get open

4+
Preventing the reset to a dump/swing when trapping a team on the sideline can be highly effective. Here we look at how marking as a defensive pair can be even more effective.

7+
Chicago Machine's Brett & Goose bring together multiple cutting options to show the power of the vertical stack formation

14+
A simple yet effective mechanism for generating and maintaining offensive flow
5+
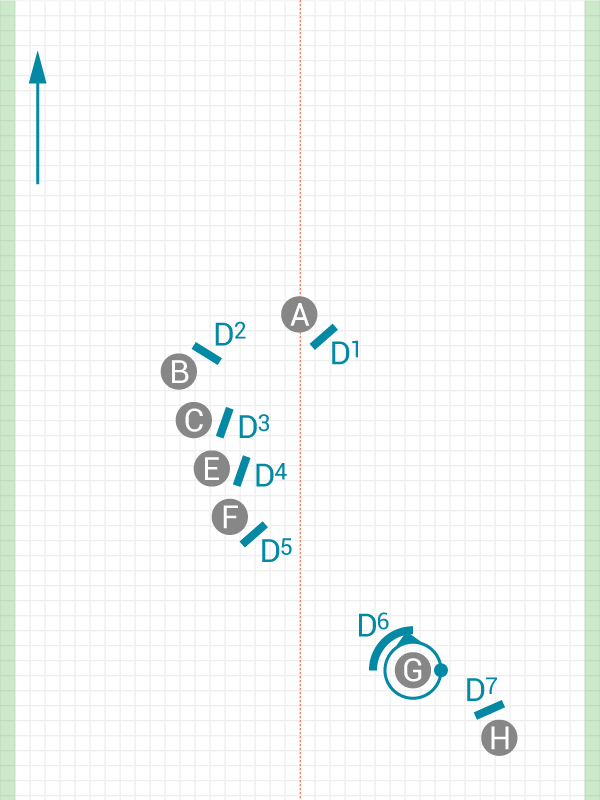
Practice maintaining flow and swinging the disc in vertical stack

8+
The idea here is to get three or more cutters working together, all running the Triangle Cutting patterns, to provide lots of options to throw to in a short space of time.

4+
Timing deep cuts is a vital part of being a good receiver; it rarely gets much attention but when you time your cuts correctly, throwing away becomes much easier (and you'll catch more goals!)

4+
Practice timing continuation cuts for maximum gain and to ensure that your offence continues flowing downfield

4+
Defenders can often read what a cutter wants to do in advance to re-position themselves to deny an option. When cutting, it is therefore good to be able to make split-second decisions about where you want to cut.

4+
A simple combination of cuts that can be used to provide three throwing options - away, open side and break side - in quick succession.

3+
If the initial cut isn't available, turning to cut to the break side is a fantastic clearing cut. In this pattern, we add another option, a deep strike, which is ideal when cutting in isolation.

4+
This dynamic drill brings together a multitude of cutting options, and is good for teaching cutters how to exploit one-on-one matchups.
4+
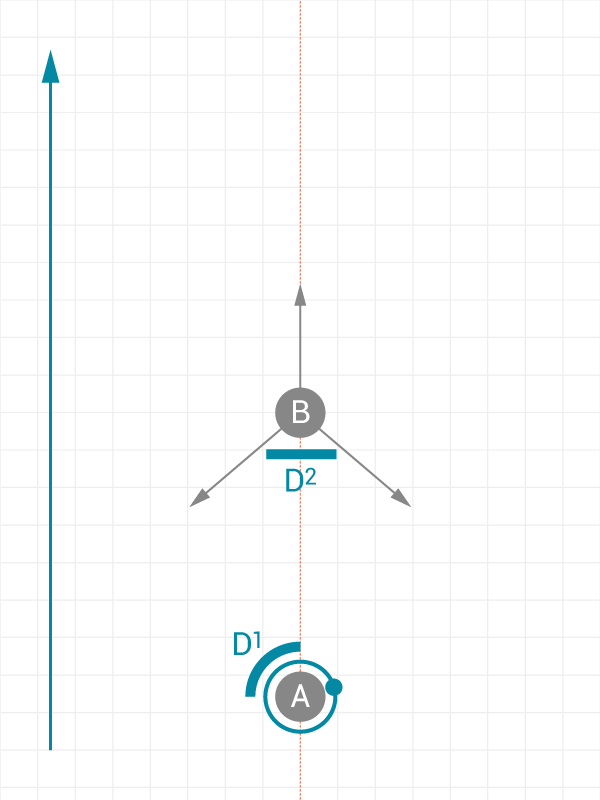
This is a simple movement useful whenever a downfield dump is being fronted

4+
Allows the cutter to either cut deep or under on the open side, and teaches the thrower to react quickly to opportunities. Ideal for continuation cuts.

4+
A flood play used to create space for an isolated cutter in horizontal stack

8+
This is a coordinated cutting pattern aimed at moving defenders to create an undefended under cut.
