Help – Drills
Drills show real game movements – or combinations of movements – that your team can practice by following our instructions.
This drill was designed by Brummie, and as shown at top right, it requires at least 3 players. Click on the coach’s name or image to see other items created by this person.
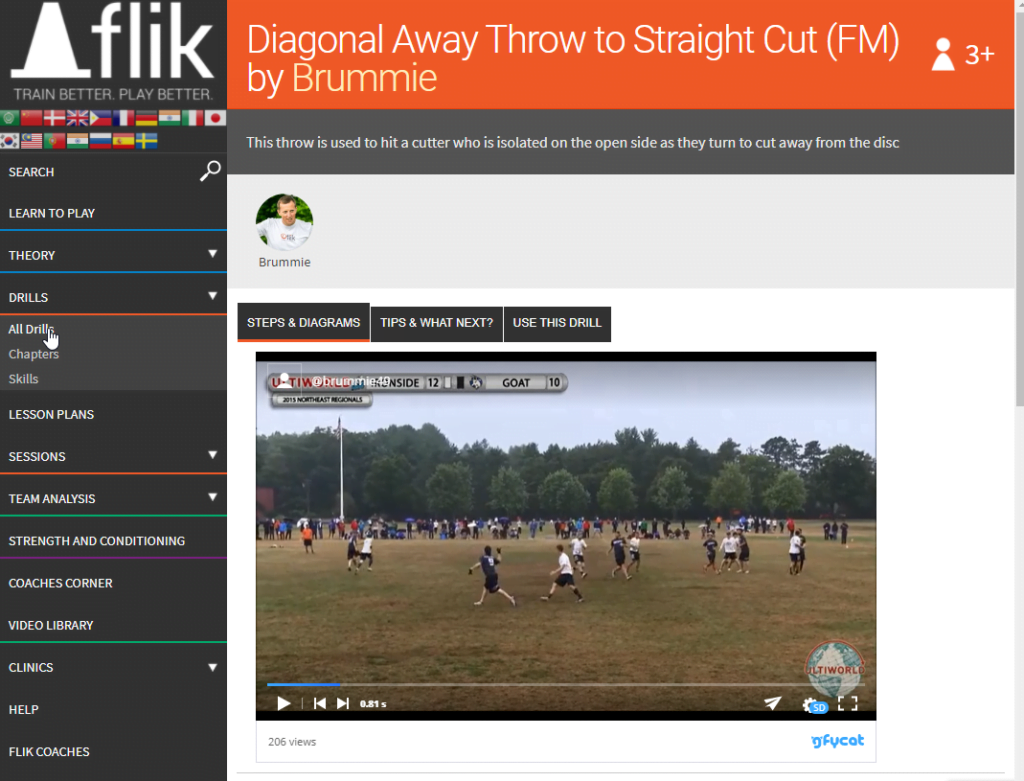
There are three tabs at the top of the page: Steps & Diagrams, Tips and What Next? and Use this drill.
Drill Information
Video clip: Some of our drills are accompanied by video footage that shows elite Ultimate teams in action using the exact movements that the drill describes. Not all drills have video, because many of our drills include decision making, and video can’t capture multiple options :-) However, if you want to see the patterns then try the “Pre-requisite drills”.
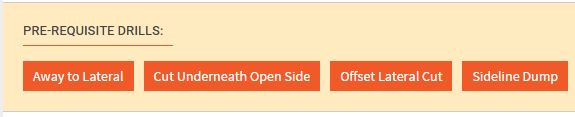
Pre-requisite drills: many of our drills are modular, starting with very simple movements and building up the complexity by adding together patterns of movement with decision making. If the drill that you’re looking at is made up of more simple movements then you’ll see these listed under “Pre-requisite drills”. So, if you’re struggling with the drill and need more detail, then try the pre-requisites for additional detail, and a more simple drill that you can try.
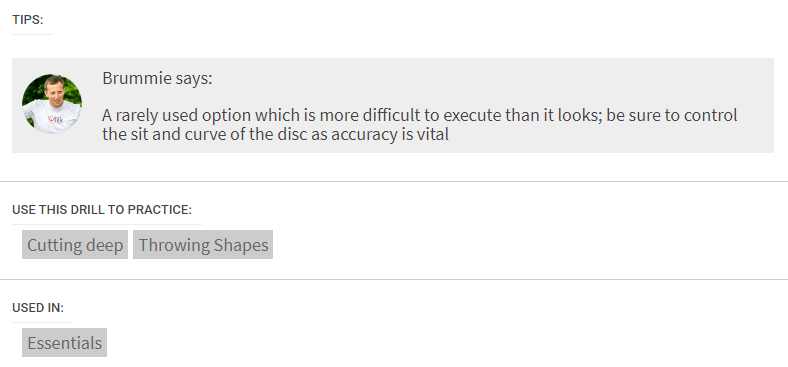
Use this drill to practice: All of our drills are tagged by offence and by theme, so if you want to see a list of drills that can help with Breaking the Mark or Handler Resets, just click the tag.
Used in: Our drills are also tagged by offence; our Essentials chapter covers the fundamental patterns used by all offences, and the rest of the drills are tagged by a specific offence. Some drills are useful for more than one offence.
What’s Next?: because our drills are modular, some of the movements are re-used in more complex drills which you will find listed here.
Read the Theory: any theory articles that are linked to the drill will be listed here.
Steps & Diagrams
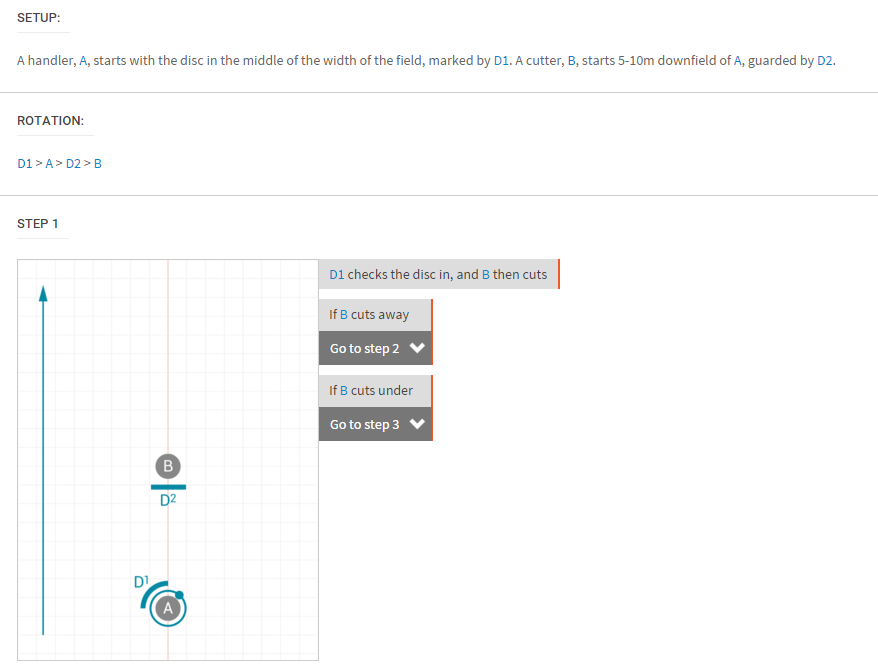
Setup: a textual description of how to set up the drill.
Rotation: how best to rotate through roles in the drill to ensure that all players get to experience all roles, while minimising the amount of movement required and maximising productive time spent in the drill.
Steps: movements and throws are broken down, step by step, with accompanying diagrams.
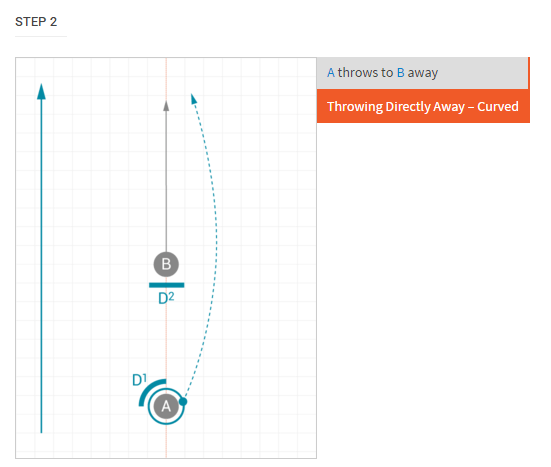
Diagrams:
Playing Field: the direction that the offence is playing is denoted by the large arrow pointing towards the attacking endzone.
Grid (sizing): a background grid shows the scale of each diagram; the grid size is very approximately 1m per square.
Offence: Offensive players are shown as grey circles, usually with letters to identify them in the steps and description of the drill.
Thrower: The player with the disc is shown with a blue ring (A in the diagram above). In some diagrams, an arrow on the ring indicates which direction they are facing.
Defence: Defenders are shown as blue lines, and identified by names ranging from D1 to D7.
Marker: The defender on the mark (forcing the thrower) is shown as a curved blue line (D1 in the diagram above).
Disc: The disc is shown as a blue dot. A has possession of the disc in the diagram above.
Throwing the disc: Disc movement is shown as a blue dotted arrow. In the diagram above, A is throwing the disc on a curved trajectory.
Player movement: Player movement is shown as a solid grey arrow. In the diagram above, B is running directly away from the thrower.
Reception area: some drills show the “ideal reception area” as an orange box with the letter R; these are shown when trying to convey a new principle and ensure that players and coaches know what they are aiming for.
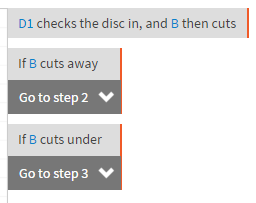
Decisions: More complex drills involve real-time decision making. Different options are shown with a dark grey background. Click on the option to be taken to the next step in your uniquely evolving drill.
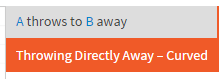
Linked Drills: Whenever a single step in a drill is covered by another, more simple pre-requisite drill, there will be a link to that drill shown with an orange background. Click on this to go to the simpler drill. Use these pre-requisite drills to build your team’s skills until they are ready to perform the more complex drill.
Use this drill
You can add your own custom notes to each drill; no-one else can see them. Make sure to click “Update notes” before you leave the page.
If you’re a full member of Flik you’ll be able to add any drill to a session that you’ve designed. At the foot of the page you’ll see whether you’ve already included this drill in any sessions. If you’d like to add it to another session, just select the session from the list and click the “Use this drill” button. It’ll be added at the end of the session, with a default duration of 5 minutes, but you can easily change that on the session page.
Comments
Feel free to discuss drills and ask questions by leaving a comment, and the Flik community will be there to help you out!